Seint stands out in the beauty world with its innovative, effective, customizable, and affordable makeup. My article provides a detailed overview of Seint’s makeup products and their benefits. Find answers to common questions about this makeup in the FAQ section below. Having tried various brands over the years, I can confidently say Seint Makeup is my favorite. So let’s get into it!
What is Seint?
SEINT, previously Maskcara Beauty founded by Cara Brook, is renowned for its unique SEINT IIID Foundation. This product revolutionizes traditional highlighting and contouring, offering a superior alternative that enhances skin tone and sculpts your unique facial features.
Seint makeup and skincare lines offer many options, with a focus on enhancing natural beauty rather than masking it. IIID Foundation, which typically consists of four cream-based colors, has quickly gained a reputation for its transformative effects.
The cream foundation system uses a personalized palette that complements your skin tone. It offers a more natural and seamless dewy finish compared to traditional foundation. You are left with one layer of makeup that allows your skin to still look like skin and not look like you are wearing a mask.
Additionally, SEINT’s customizable palettes provide even more options for you, allowing you to mix and match their favorite makeup to create a unique look. With a 30-day money-back guarantee and a focus on enhancing natural beauty, Seint offers a refreshing alternative to traditional makeup brands.
Learn Seint’s customizable IIID Foundation Palette
3D Foundation, a cream-based and highly pigmented makeup; offers buildable coverage and enhances skin tone, while effectively camouflaging blemishes and dark circles, sculpting features, and creating the perfect lighting on the face.
The cream foundation begins with four colors: Highlight, Contour, Lip+Cheek, and/or Illuminator or Second Highlight. However, with so many products to choose from each palette is curated to exactly how you love to wear makeup. Fill out my COMPLIMENTARY COLOR MATCH FORM and I will work within your needs and budget to create your personalized all-in-one compact.

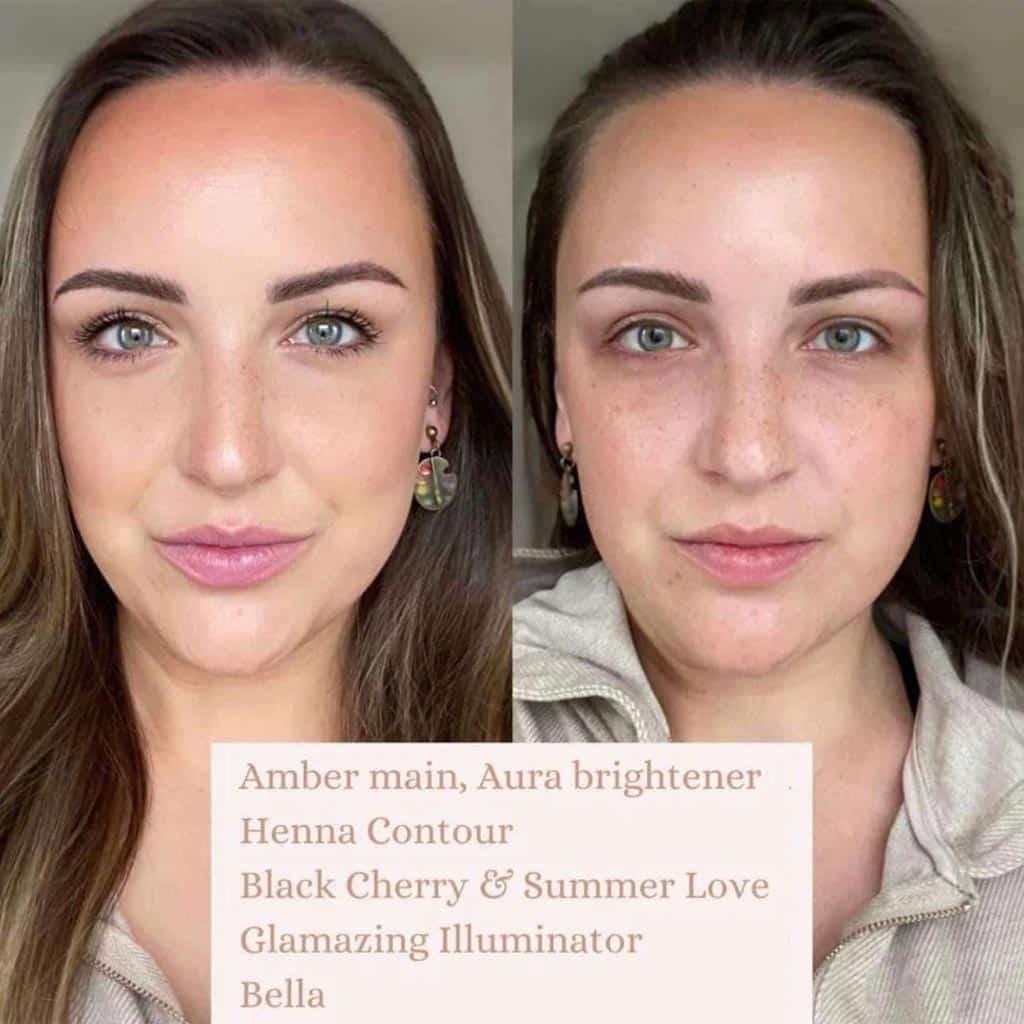
Amber – Auroa Brightener – Astoria Contour – Bella Bronzer – Ruby Lip and Cheek
Lip+Cheek shade come in gloss, semi-gloss and satin formulas, apply on the lips and cheeks for a natural flush. Many of Seint lip and cheek colors can be used with eyeshadows and color correctors. Illuminators (cream and powder formulas) can be used on the inner corners of the eyes, cupid’s bow, tip of the nose and brow bone for a beautiful light reflecting properties.
IIID highlight shades (cream foundations) do not oxidize. The color stays true to tone all day long, making it a perfect choice for individuals with oily skin. Seint cream makeup is hydrating and blends smoothly to a flawless finish, making it a perfect option for individuals with mature or dry skin. This is exactly what IIID Foundation excels at.
In addition, there are different types of Seint brushes and techniques that can help you achieve your desired coverage and look.
Seint Makeup Palette
- Highlight (Seint Makeup Foundation): Seint offers a unique approach to foundation with their cream-based products that aim to enhance natural beauty.
There are many shades from cool or warm in various skin tones, you can choose a prebuilt Collection by looking at the images of other skin tones but I believe it’s best to be color matched by an independent Seint artist. - Second Highlight shade (Concealer): To cover up any blemishes, dark circles, or imperfections. Having multiple foundation shades help to give that three-dimensional look Seint is known for.
- Color Correctors: Seint’s demi color correctors are the perfect addition to your Seint makeup palette whether you need to address dark circles, hyperpigmentation, melanoma, or acne scarring.
This breakthrough approach to makeup leaves no texture or creasing as it is highly pigmented to filter and neutralize excess colors on your skin.
Analyze the colors present in areas of your face you want to correct for, then utilize color solving to select shades from your palette to filter out any excess colors you don’t want. Provides a natural luminosity to your skin. - Lip and cheek colors: Seint is renowned for the versatility of a cream product that can be used on the lips and cheeks.
These colors can also be used are color correctors too. Seint’s lip and cheek colors are smooth creams that save you money and space in your makeup bag. - Contour: The next product in most Seint Makeup palettes is the contour. Contour is meant to create shadows on the face, which helps lift, sculpt and add dimension.
Apply contour to the edges of your face, under your jawline and down your neck, along the sides of your nose and directly beneath your cheekbones. - Illuminator: An illuminator (highlighter in the makeup world) is often included in your Seint Makeup palette to add a luminous glow to the high points of the face. It come in different shades and finishes, cream or powder.
- Bronzer: To add warmth to the face, a bronzer shade may be added to your Seint Makeup palette. These products help create depth and dimension, allowing you to enhance your facial features.
Seint’s cream bronzers come in four different shades. There is no shimmer in these bronzers and they are not orange. - Eyeshadows: You can choose eyeshadows to go into your Seint makeup palette. Seint eyeshadow come in cream, matte, shimmer and glitter shades, ranging from neutrals to vibrant colors. This allows you to create versatile eye looks, whether you prefer a natural everyday look or a more dramatic and adventurous style.
- Setting Powder: Seint’s translucent pressed powder is the perfect product to add to your Seint Makeup palette. If you are not a fan of the dewy makeup look this product will reduce the look of any of your shiny areas on your face.
It ensures your makeup will stay in place and softens your look without leaving behind a dry or powdery finish. - Brow Wax: Seint brow wax is one of my absolute products to add to your Seint Makeup palette.
When applied to a wet spoolie, this product will help your brows look fuller by adding texture to them. If you have thin, sparse brows brow wax will be your best friend. - Eyeliner: Black Friday. Black Friday is Seint’s cream eyeliner.
- Lip Liner: Presently Seint has one color lip liner, Suede. It’s a mauve brown cream lip liner that will help create definition around your lips. Fits easily into your Seint palette to use in your everyday makeup looks.
- Balm: This light-catching sheer cream is simplified to give you the same glow with fewer ingredients. Balm can be used as an illuminator on your cheekbones, brow bone and the bow of your lips for a hydrated glow.
It also multitasks as a cream for your powder shadows-simply mix your shadow of choice with Balm and create a dewy, cream eyeshadow. - Seint Makeup Brushes: Seint brushes come in a big variety, are very versatile and high quality. The different types of brushes and techniques will you get the look you and coverage you want.
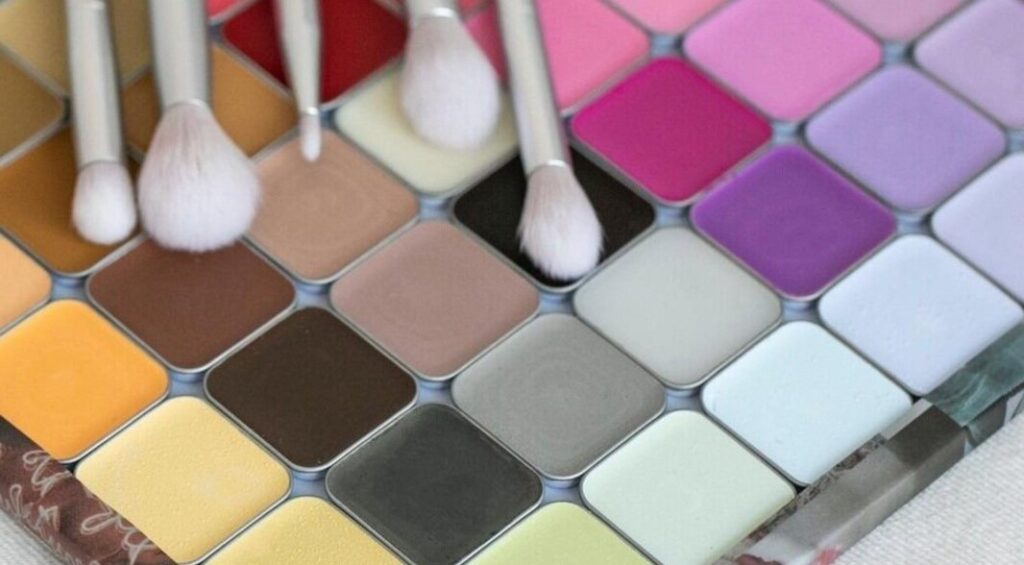
Seint Eyeshadow Palettes
The customizable eyeshadow palettes offered by SEINT provide you with the flexibility to select your own preferred shades. This allows you to create personalized looks that complement their skin tone and style. With a wide range of SEINT Eyeshadows to choose from, you can choose from shimmers, matte, cream, and glitter finishes to create your desired effect.
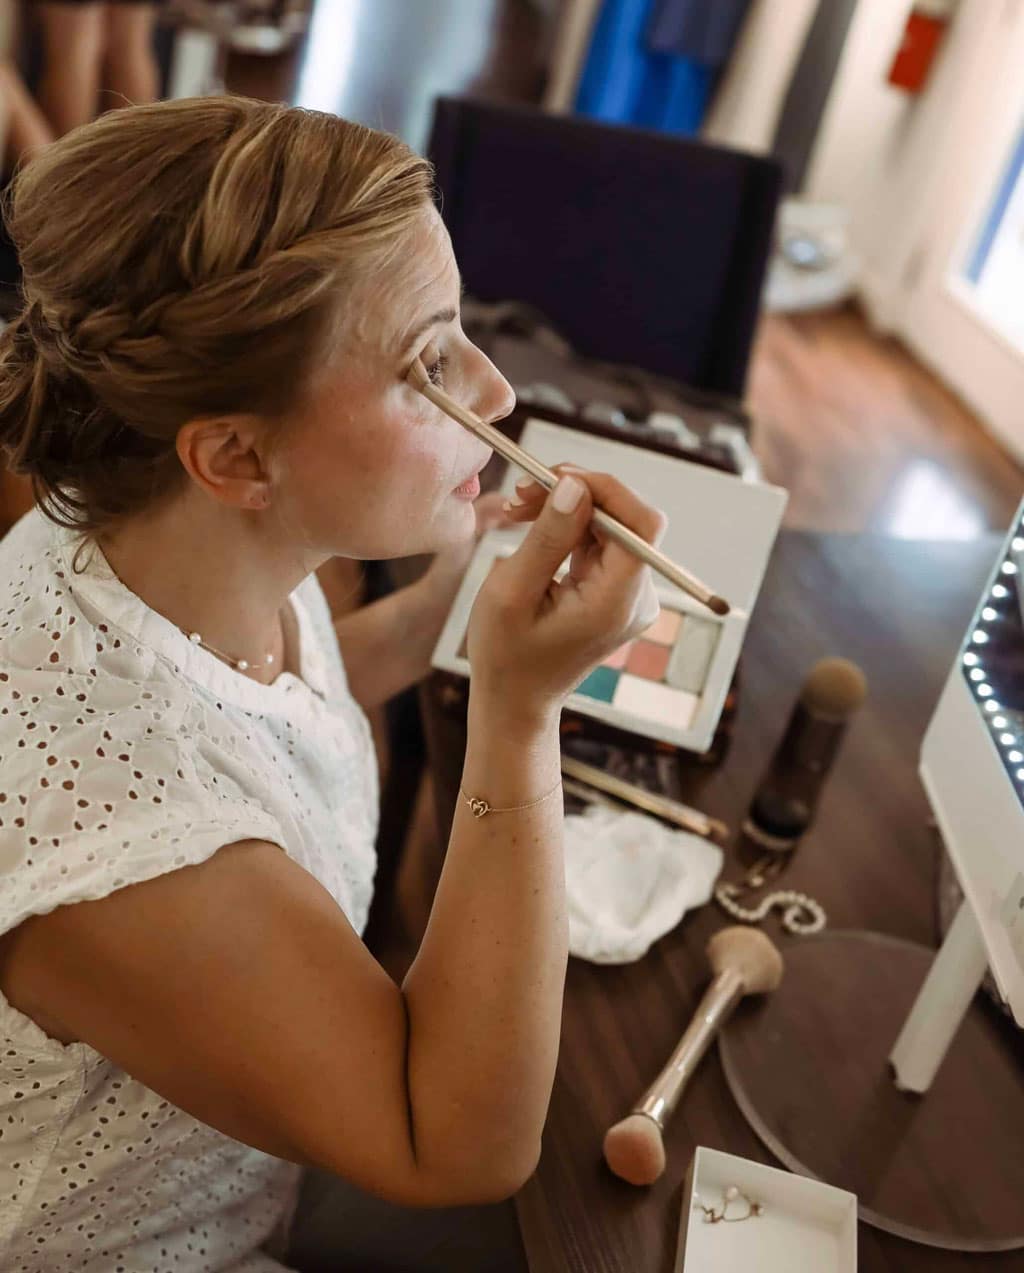
How to Apply Seint Makeup?
To achieve a flawless look, you can start with a paint by numbers type system which leaves you with only one layer of makeup on your face. Apply darker colors such as contours and bronzers to the hollows of the cheek, the jawline and forehead. Contour allows you to sculpt your face and provides dimension.
Don’t worry if you have never used contour before, it sounds more intimidating than it is. Lighter colors consisting of the highlight shades are placed in the gaps of your face where you did not place the contour.
Depending on how many colors are in your skin tone will determine how many shades your Seint Artist will determine you may need. By choosing additional shades you have the ability to color correct or use a lighter highlight than your natural skin tone to create further dimension. Learn more on how to apply Seint Makeup here.
Seint Color Match – Find Your Shades
The coverage allows you to customize your look according to your preference. With a wide range of shades available, you can easily find your perfect match by requesting a COMPLIMENTARY COLOR MATCH with a photo, taking a Seint Color Match Quiz, or by looking through the Collections in the SEINT STORE. There are pre-built Seint Makeup Palettes – “Collections” you can choose from by comparing your skin to the images on the “Find Your Perfect Shade”.
When you get a Color Match or take the Quiz, your Seint Artist will ensure that you get the most out of your makeup experience by taking into consideration application tips, longevity and coverage, as well as color and skin types. Once your shades are selected, you’ll want to read my post here on how to apply Seint makeup yourself.
Demi Colour (Demi Makeup)
There is nothing on the market like it, it is truly the ideal way to create the “no makeup makeup”. Demi Colour filters away excess color you see on your skin, allowing your unique features to shine through, unlike traditional foundation or concealer which simply try to cover imperfections.
This sheer filter seamlessly blends with the skin tone, providing a natural and flawless appearance that lasts all day without the need for additional setting sprays or powders. I like to explain the difference between Demi Color Corrector and traditional foundation/concealers is the difference between a veil and a mask. This leaves your skin luminous and looking like your skin but better.
Demi Colour addresses common skin concerns such as dark under eyes, redness, blemishes, rosacea and hyperpigmentation by bringing your face back into balance.
Shop Seint
With a 30-day money-back guarantee and 60-day exchange policy, you can feel confident in your purchase and trust that you are getting high-quality products and no risk to try. You can shop all Seint makeup products, tools and accessories online. All Seint Artists have their own store you can buy from as there are no brick-and-mortar store front options for Seint. This was a purposeful decision by Seint’s CEO to keep the brand’s focus on providing assistance and guidance to women with their makeup application.
Other Users Opinions of Seint
Here is a list of other websites, forums and communities you can use to research other user’s experiences with Seint:
- Seint Makeup Reviews & Seint Makeup Controversy
- Makeup Addiction (reddit.com)
- MakeupAlley.com
- Makeup Talk
- Honest Brand Reviews
- Consumer Heath Digest – Reviews
Purpose and Promise of Seint Beauty
Focused on enhancing the natural features of individuals, SEINT offers a promise of delivering high-quality, customizable, and affordable makeup and skincare products that cater to the unique needs of their customers at a low cost.
The brand’s mission is to help their customers discover their true beauty by providing products that enhance their natural features, rather than covering them up.
It’s promise extends beyond its product offerings, as the brand’s top personal artists are dedicated to providing personalized makeup consultations and recommendations to help you achieve you desired look.
With SEINT, you can confidently embrace your natural beauty and enhance your features with high-quality and customizable makeup and skincare products.
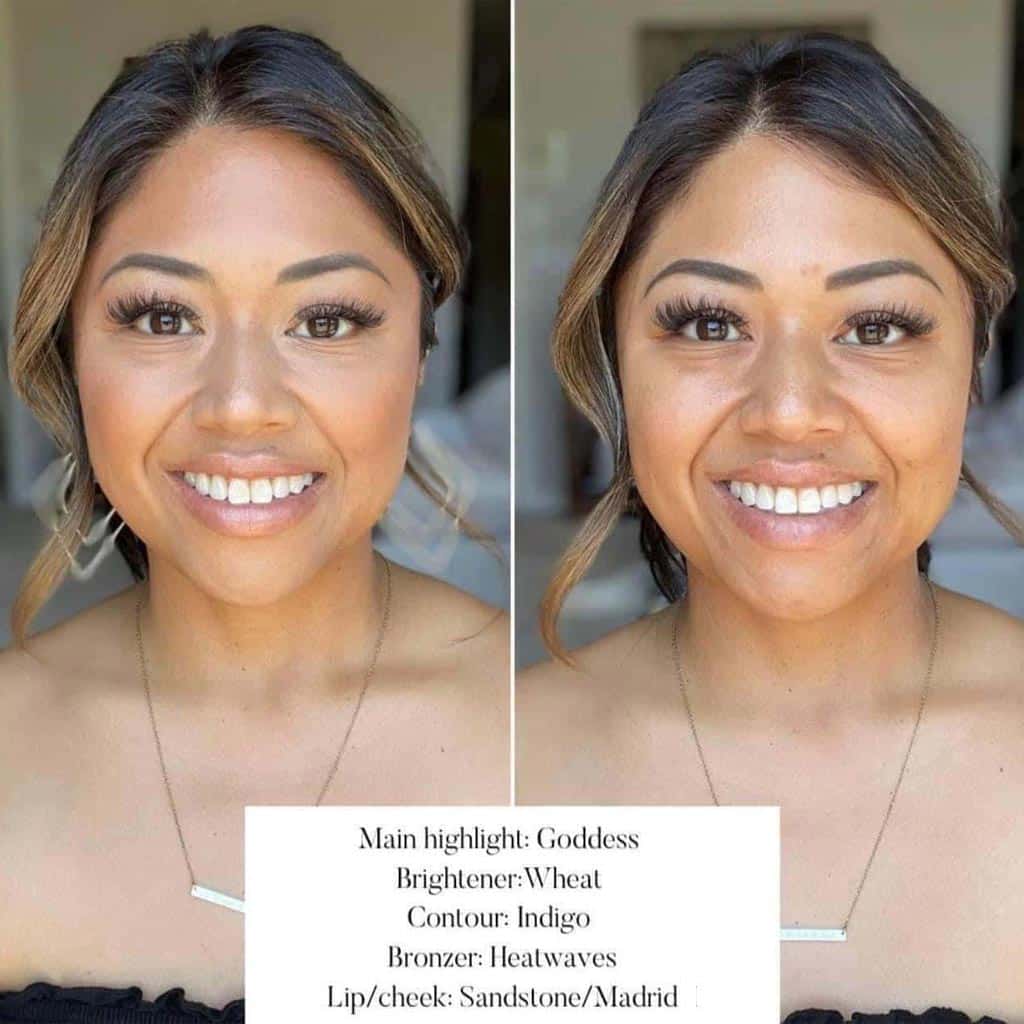
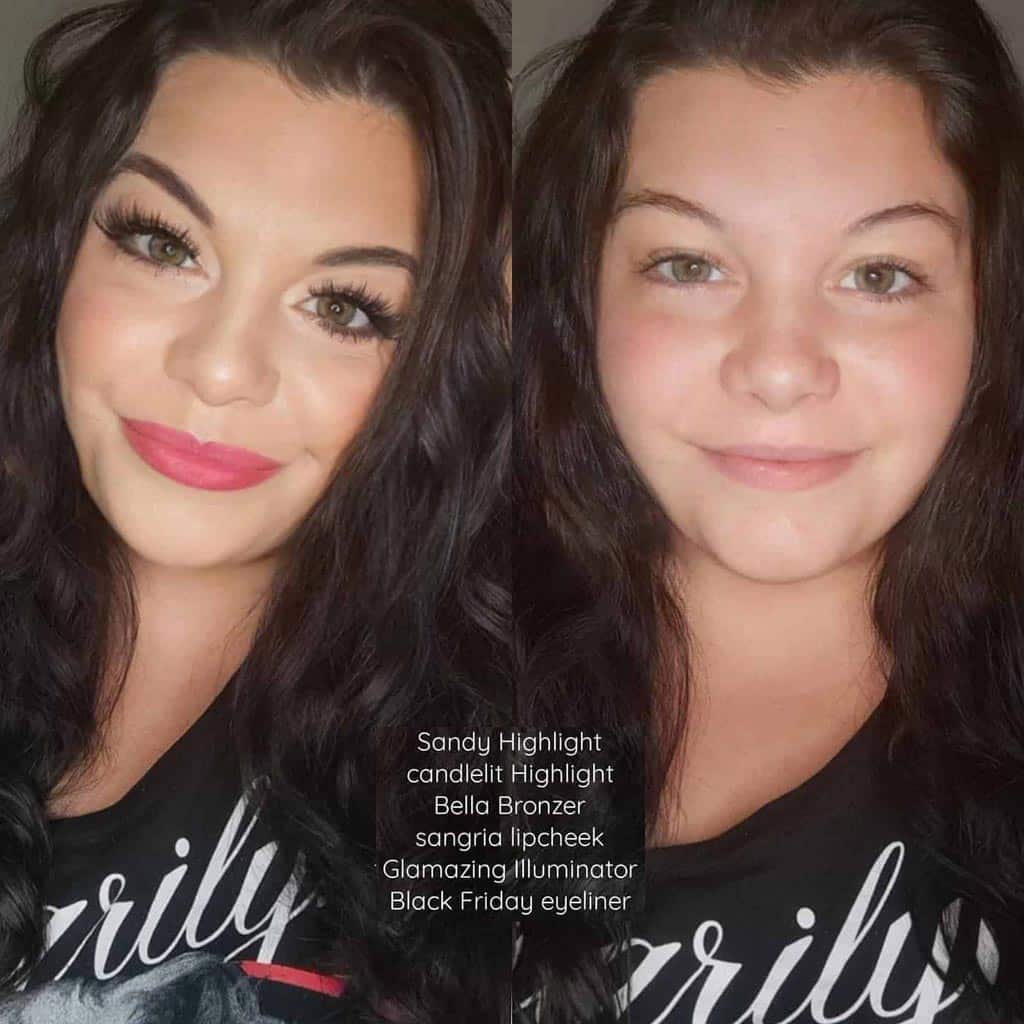
Goddess Highlight – Wheat Brightener – Indigo Contour – Heatwaves Bronzer – Sandstone Lip and Cheek
Frequently Asked Questions:
Can Seint eyeshadow palettes be refilled or are they disposable?
Yes, Seint’s customizable eyeshadow palettes are refillable, reducing environmental impact. This sustainable option allows for continued use of the palette without the need for disposal.
How does the Seint skincare line complement their makeup products?
Seint’s skincare line complements their makeup products by providing a nourishing base for the makeup application. It is well known that the best primer is well cared for skin.
Seint’s skincare is a luxurious 3-step system (cleanser, toner, and moisturizing creme) that promotes healthy skin cell turnover through gentle exfoliation and provides superior moisture retention for a more clarified, luminous, and smoother looking complexion. The skincare-makeup integration ensures that the makeup adheres better to the skin, lasts longer, and enhances the overall appearance.
Does Seint have any vegan, clean or cruelty-free options?
Yes, Seint Beauty is cruelty free, gluten free, paraben free, sulfate free, alcohol free. Seint is not considered vegan as their ingredients includes beeswax. Seint is completely transparent on providing the ingredients of each of their products to allow customers to make decisions for themselves on using the products.
Each of its products undergoes thorough safety testing and uses ingredients that have a low hazard rating on the EWG database. The average score for each ingredient used in Seint’s products is 1.5, indicating a very low level of potential health concerns. This commitment to safe and non-toxic ingredients sets Seint make up apart from other brands and is a great choice for healthier makeup options if you are looking for a clean brand.
Read up more on Seint makeup ingredients here.
How does Seint ensure the safety and quality of their products?
Seint ensures the safety and quality of their products through third party testing and careful ingredient sourcing. They prioritize using natural and non-toxic ingredients, and their products are free of harmful chemicals.
Where can I buy Seint makeup?
Seint is not available in physical retail stores, it is an online-exclusive makeup brand. You can buy Seint makeup online with the best prices here.
How much does Seint makeup cost?
Seint has affordable prices and high-quality products. The brand’s commitment to keeping costs low while delivering superior quality has made it a great value for makeup enthusiasts.
Here are a couple examples Seint prices compared to other brands:
| Makeup Item | Brand | $ | Brand | $ | Brand | $ |
|---|---|---|---|---|---|---|
| Foundation | Seint | $16 | Light Reflecting | $49 | Tarte’s Water | $39 |
| Contour | Seint | $16 | Anastasia of Beverly Hills | $25 | Tom Ford | $89 |
For more information on Seint Makeup Prices click here.
Is Seint Makeup good for older skin?
Seint Makeup’s cream-based formula is one of its key features which makes it ideal for mature skin. Seint provides a lightweight, natural-looking finish that does not settle into creases, unlike traditional makeup which can accentuate fine lines and wrinkles. Learn more about mature skin and Seint here.
Is Seint Makeup actually good?
Seint is high quality makeup at very affordable prices that is long lasting. Here is what a couple users have to say:
“I have never felt so beautiful in my skin. I was not wearing makeup because of my wrinkles. It looks like I have perfect skin which I do not. Thanks for taking the time to work with me.” – Beth F.
“Before Seint my wife always had dark circles under eyes, now her face has a nice healthy glow, I love it!” – Ryan G.
Read more personal reviews of Seint makeup here….
Can you buy Seint without an Artist?
Yes, you can buy directly on their website here without an Artist.
Is Seint Makeup Clean?
Seint affirms their commitment to creating products that are free from potentially harmful substances like sulfates, parabens, and phthalates. Although Seint doesn’t officially brand itself as a “clean beauty brand”, the careful selection of non-toxic and clean ingredients in their products reflects a commitment to offering makeup choices that are healthier for customers.
Deep dive into: Is Seint Makeup Clean.
How to Apply?
This article should give you everything you need to know about application techniques for Seint makeup: How to Apply Seint Makeup – Tips and Tricks
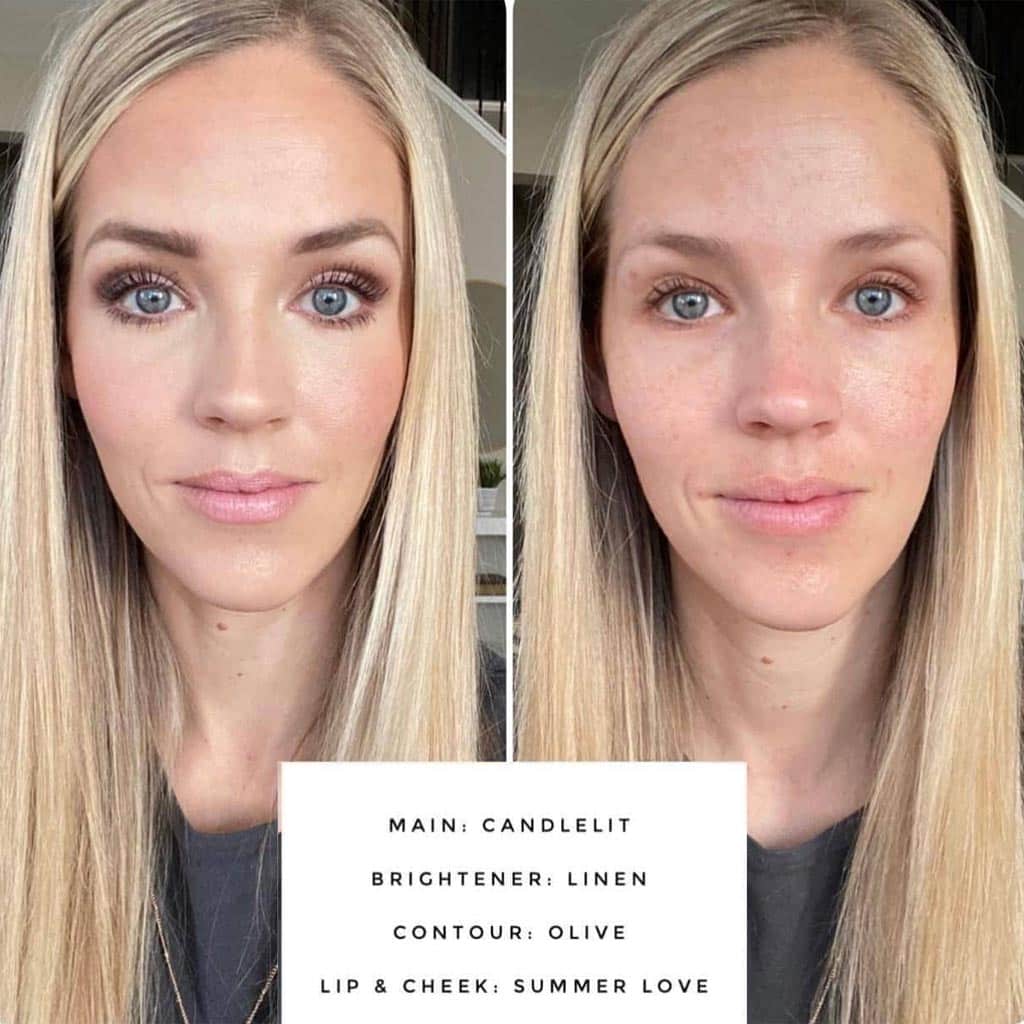
Candlelit – Linen Brightener – Olive Contour – Summer Love Lip and Cheek
Final Takeaways
Seint Beauty garners praise from both newcomers and seasoned makeup artists. The 3D Foundation, has revolutionized traditional highlighting and contouring by enhancing skin tone and sculpting features. Seint make up is customizable, affordable, and long-lasting, making it an attractive option.
Thanks to their 30-day money-back guarantee and 60-day exchange policy, you can make your purchase with confidence, knowing that you’re receiving top-notch products and the opportunity to try them risk-free. Seint’s purpose of empowering women to feel confident and beautiful is reflected in their products and is sure to resonate with you!
So, give it a try and be sure to Favorite/Bookmark the SEINT SHOP right here!
Or if you need help, submit a Color Match and I’ll be happy to help you find the right colors and shades just for you.
Heather XO
Updated on February 21, 2024

Hi! I’m the founder of Purely Radiant with Heather, a website that specializes in Seint Makeup, Riman Skincare, and general wellness. As a Seint Artist and beauty expert, I’ve performed hundreds of Seint Color Matches for women. I’m also the founder of Purely Radiant with Heather Facebook Group, which has 11,000 subscribers. I love helping women of all ages find simplicity in their makeup routine so they can feel beautiful in their skin!